
 Yahoo Lifestyle
 A Cooking Instructor Offers 7 Tips You Need When Making Brown Butter
Brown butter is having a moment. Once found primarily in French cuisine, where it's known as beurre noisette, brown butter has made its way into a host of sweet and savory recipes ranging from mashed potatoes to gooey cake, and even scrambled eggs.
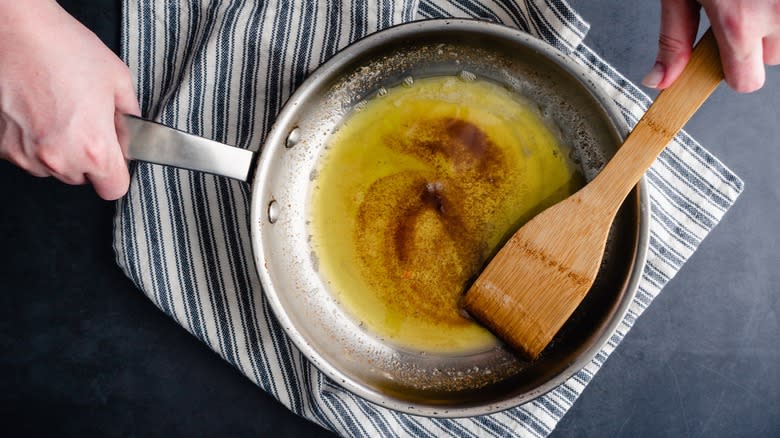
Butter is made up of three parts — water, fat, and milk solids. It's transformed into brown butter by melting it and continuing to cook it until the butter breaks down. The water evaporates away and the milk solids hit the bottom of the pan and begin to brown. In addition to developing a deep golden-brown color, the taste of brown butter also evolves into a deliciously rich and nutty flavor.
Melting butter sounds easy enough, and it is, but cooking the butter after it melts can be more difficult than it sounds. Butter burns quickly and milk solids burn even faster. As a cooking instructor, adding brown butter to a class menu was a surefire way to intimidate my students, because brown butter's reputation for being tricky to prepare preceded itself.
There are several steps you can take to make sure that you end up with brown butter instead of burnt butter. These tips will help you perfect your technique and level up your brown butter game.
Read more: 12 Popular Grocery Store Butter Brands, Ranked
Choose A Light-Colored Pan

Choosing the right equipment in the kitchen is step one in setting yourself up for success, especially when making brown butter. While it might not seem like your choice of pan is important, all pans are not created equal.
You wouldn't attempt to scramble an egg in a cake pan, or roast your Thanksgiving turkey in a tart pan. That same logic applies to making brown butter. Browning butter is likely more involved than most cooks realize, and something as simple as choosing the wrong pan can lead to a burnt butter disaster.
For best results when making brown butter, a light-colored pan is the way to go. You'll need to watch your butter carefully as it cooks, so it's imperative that you can clearly see and monitor the color changes that the butter will undergo. Achieving the right shade of brown is integral to brown butter success, and a dark pan will make it impossible to catch the color changes as they happen.
A light-colored pan with a heavy bottom is an even better option. Heavy-bottomed pans are better conductors of heat, so your butter will melt evenly across the cooking surface.
Use Unsalted Butter, Preferably European
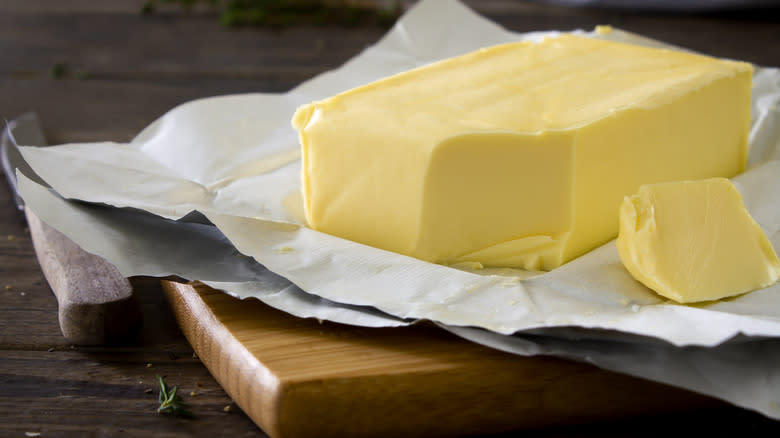
Both salted and unsalted butter have their selling points, and both have specific uses that each is best suited for. In culinary school, unsalted butter was the go-to because it allows you to control the amount of salt in your dish, but there's nothing like a thick smear of salted butter on a piece of warm bread.
You can make brown butter with either variety, but unsalted is the best type of butter for browning. Salted butter has the potential to become overly salty when it's browned. As the butter melts and cooks, the water in the butter will evaporate, leaving you with the same amount of salt for less butter. It's also easier to burn salted butter than unsalted. In addition, salted butter will bubble and create more foam as it cooks. The excess foam becomes a visual barrier that can hide the color of the butter, which can cause you to burn it without realizing what's happening.
Your butter choices don't stop at salted or unsalted. American versus European butter is also worth considering. The fat content of the butter will influence both the flavor of your butter and the cooking process. A butter with higher fat content will produce a brown butter with a deeper flavor, and it will brown faster. European butter can contain 82% fat or more, compared to the 80% fat typically found in American butter. This makes Europe's butter the better choice for browning.
Stick With Medium Heat
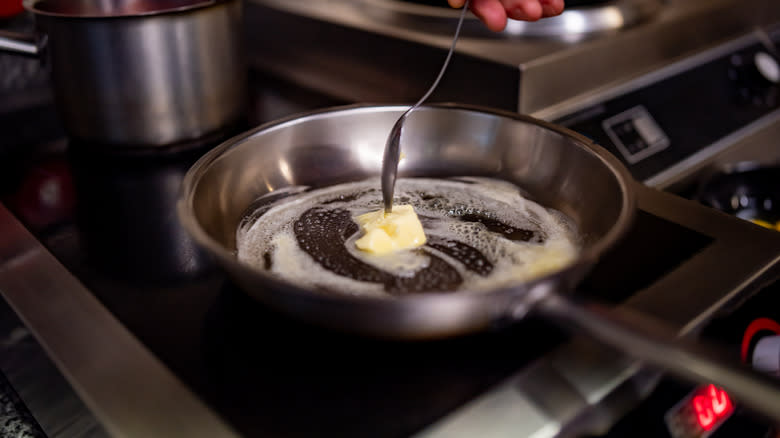
Browning butter works best, especially for beginners, on medium heat. We know butter burns easily under the best of circumstances, and melting it over high heat will only increase your chances of ending up with a pan full of black butter with a bitter taste, instead of golden-brown butter with a rich, nutty flavor.
The goal is to melt the butter so that the water evaporates and the milk solids fall to the bottom of the pan to brown. Medium heat will give you enough warmth to brown the butter evenly for a deeper flavor, without quickly burning it. You'll be able to better monitor the butter as it browns with a steady application of medium heat.
Browning butter on low heat might seem like the safe choice if you're worried about burning it, but this can be problematic. Brown butter's deliciousness comes in large part from the caramelization that occurs as the milk solids are heated. Low heat may not brown the solids as well, resulting in a less flavorful butter. Cooking the butter on low heat will also take longer.
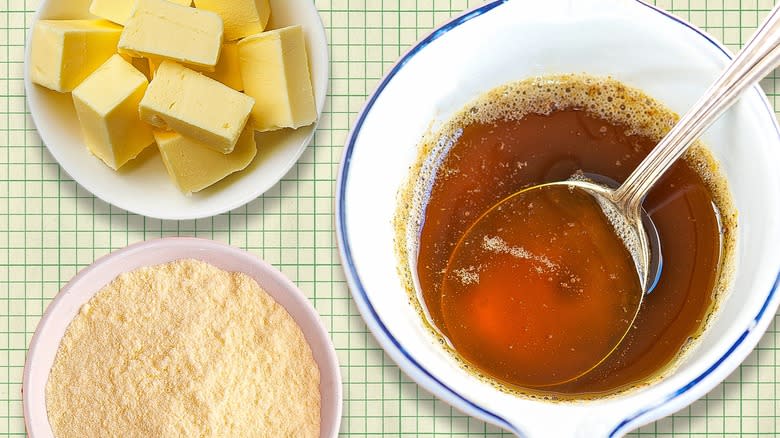
Add Powdered Milk
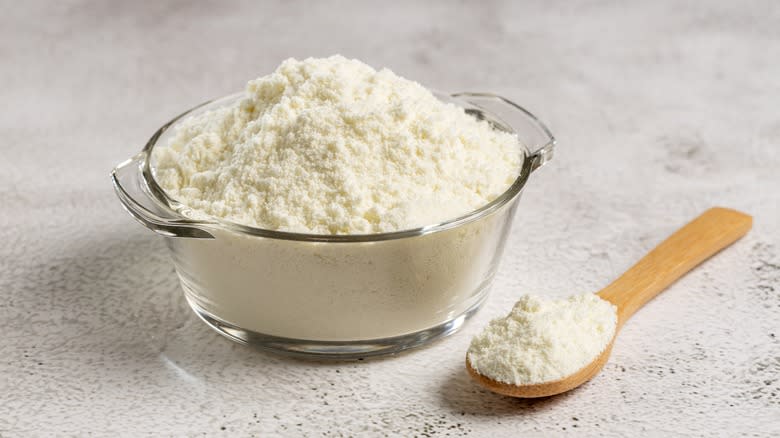
Making brown butter requires only one ingredient: butter. However, since you're taking time to turn a fabulous food into an even more delicious version of itself, you may as well elevate brown butter with one unexpected ingredient — powdered milk.
Brown butter gets the bulk of its flavor from browned milk solids, so introducing more milk solids will amp up the flavor. Powdered milk makes that possible without adding more butter.
Powdered milk is, as the name implies, dehydrated milk in powder form. It has the same components as butter, with all of the liquids removed. Consider it as a milk concentrate. Whisking powdered milk into your butter as it melts will produce a deeper flavor, but proceed with caution. The milk powder will continue to cook within the hot butter once it's removed from the heat, so to compensate for that after adding powdered milk, take your melted butter off the stove when it's a little lighter than the dark golden color you're looking for.
You can play with the amount of milk powder in your brown butter until you get the desired taste, but if you want brown butter with a liquid consistency, don't add more than 2 tablespoons of milk powder for each stick of butter. Any more than that, and your butter will clump. If you're using your brown butter to add flavor to baked goods like banana bread or brownies, you can add up to ¼ cup of powdered milk per stick of butter.
Stir With Caution
Keeping the milk solids from burning is essential when making brown butter. One way you can prevent this is knowing when to stir it, and how frequently. Stirring can ward off burning by keeping food from settling on the bottom of your pan, and if the butter is always in motion, it can't sit in one place long enough to burn. This is why stirring is the secret for even more flavorful brown butter.
Recipe instructions often advise you to stir occasionally when preparing foods that can safely cook without much intervention, or to stir constantly for more labor-intensive specialties. When you're making brown butter, you'll need to do both, but at different times.
The fun starts once your butter has melted. As the water evaporates and the milk solids begin to separate, the butter will start to bubble and foam in the pan. This is your cue to start stirring occasionally, which means you can drag a whisk or spatula along the bottom of the pan. This should send the foam to the sides of the pan so you can better see the color of the butter.
When the butter begins to develop color, it's time for a constant stir. Browning happens fast, and this is when it's easiest to burn the butter. Stirring constantly will help keep things in check so that you can brown it fully without scorching it.
Once The Butter Browns, Move Quickly
Making brown butter is the culinary equivalent of a baseball game. You can sit for what seems like hours in the stands, watching inning after inning, waiting for something exciting to happen. The second you turn away, a player knocks one out of the park with the bases loaded. With brown butter, things can shift from no action to "oh no, I burned the butter" in seconds. To get it right, you'll need speed on your side.
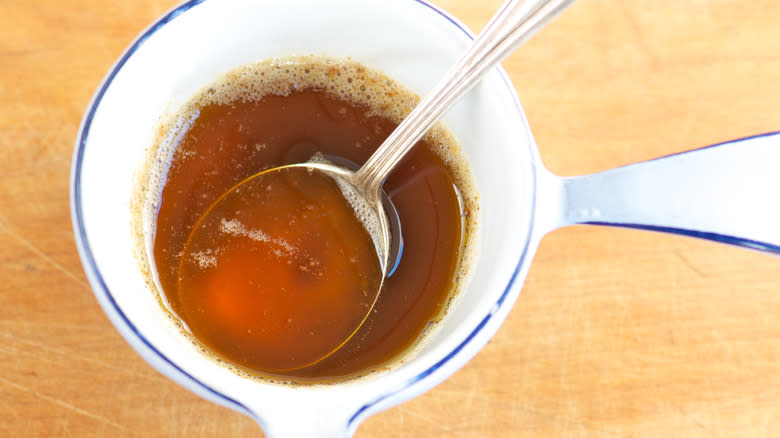
Once the butter has reached your desired shade of brown, simply turning off the heat or even taking the pan off the stove won't be enough to keep the butter from burning. Have a heatproof bowl or container close at hand, so that as soon as the butter's brown and ready, you can immediately get it out of the hot pan and pour it into the bowl. This will stop the butter from continuing to cook and eventually burn from the pan's residual heat.
If you're unsure when to take your butter off the heat, look for a deep, golden-brown color. At the right stage, the butter will also start to emit a wonderful aroma reminiscent of toasted nuts.
Don't Strain Brown Butter

Once your brown butter is ready, don't be put off by the tiny dark bits that settle on the bottom of the bowl. Those are the actual milk solids, which give brown butter its trademark flavor.
When you sauté or pan-fry food, you've likely seen brown specks of food stuck to the bottom of the pan after you've finished cooking. Those bits aren't just leftover food that should be washed away during cleanup.
The fancy French term for those tasty bits is fond. Fond may seem like unimportant leftovers that should be washed away when you clean your pan, but it's actually full of flavor just waiting to be incorporated into your dish. The specks of toasted milk solids are the fond of your brown butter. They're the flavor enhancers that make brown butter worth the extra time to prepare it, so the last thing you want to do is get rid of them.
Straining brown butter is a big no-no. Since this is where the bulk of the flavor comes from, straining it away will give you a less intensely flavored butter. Leaving the milk solids in place is the way to make the best-tasting brown butter.
Static Media owns and operates Tasting Table and Mashed.
Read the original article on Tasting Table.

