Super simple upper-body workout with Kelsey Wells
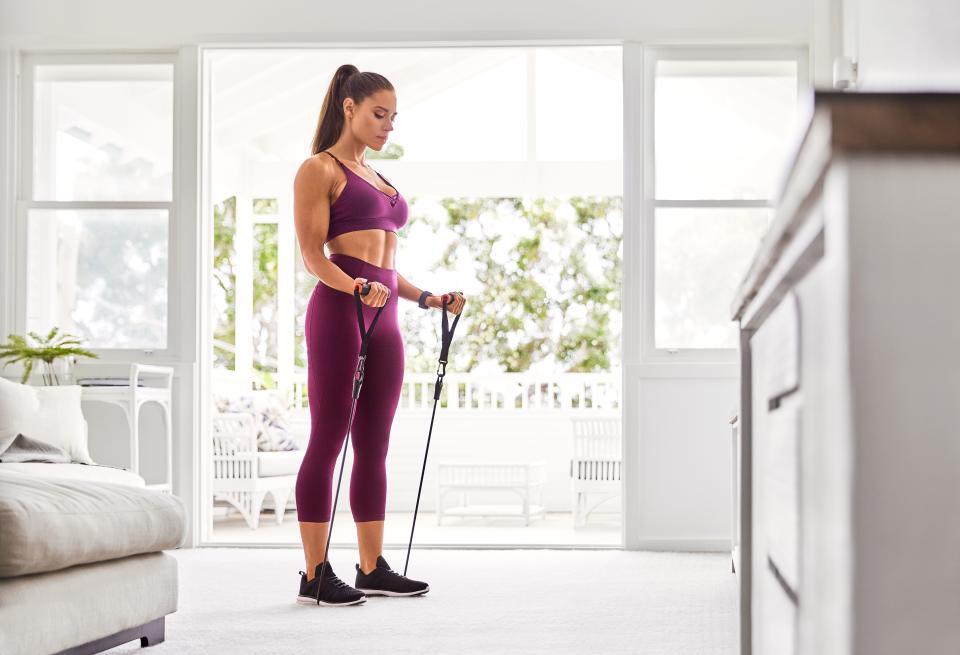
This 15-minute workout from Sweat trainer Kelsey Wells requires only a recovery or resistance band and includes a combination of push and pull exercises to work both your chest and back.
Complete each exercise for 40 seconds for a total of three laps, resting for one minute in-between each lap.
Sweat and Kelsey highly recommend taking a few minutes to warm-up prior to working out. Three to five minutes of cardio, such as jogging in place or skipping, will help increase your heart rate and help warm up your muscles for your session.

Chest Press
Step 1: With a recovery band around your back and under your arms, plant your feet in a split stance with your left foot forward and right foot back. Extend your arms directly in front of your chest, holding the ends of the band with an overhand grip (palms facing down), ensuring that your hands are shoulder-width apart. This is your starting position.
Step 2: Inhale. Bend your elbows outwards to bring the ends of the band towards you until your hands are in line with your chest*.
*It is important that there is still some tension in the band when in this position. If there isn’t, you will need to place your hands further down the band.
Step 3: Exhale. Extend your elbows and push the ends of the band away from your chest to return to the starting position.
Tricep Kickback
Step 1: Hold one end of the recovery band in each hand and plant both feet on the floor shoulder-width apart, standing in the middle of the band. While maintaining a slight bend in your knees, bend forwards from the hips so that your torso is parallel to the floor. Bend your elbows to bring the recovery band ends to either side of your chest. This is your starting position.
Step 2: Inhale. Exhale. While keeping your shoulders as still as possible, extend your elbows back behind you, ensuring that your arms remain in close contact with the sides of your body.
Step 3: Inhale. Bend your elbows to return to the starting position.
Seated Row
Step 1: While seated on a yoga mat, extend both legs out in front of you with your feet flexed. Wrap the recovery band around the bottom of your feet so that you are holding one end of the band in each hand. Ensure that the recovery band is in good condition and securely anchored around your feet to avoid injury.
You could also press your feet against a sturdy object to help keep the band in place. Sit up tall and draw your shoulder blades down and back to push your chest out. Extend your arms in front of you so that you are holding the ends of the band with a neutral grip (palms facing inwards). This is your starting position.
Step 2: Inhale. Exhale. Using the muscles in both your arms and back, bend your elbows backwards to increase the tension in the band, ensuring that your elbows remain in close contact with the sides of your body. You should feel a small squeeze between your shoulder blades.
Step 3: Inhale. Extend your elbows to return to the starting position.
Bent-Over Reverse Fly
Step 1: Standing on the middle of a recovery band, plant both feet together on the floor. While maintaining a slight bend in your knees, hinge forward from your hips so that your torso is parallel to the floor. Extend your arms directly below your chest, holding the ends of the recovery band with a neutral grip (palms facing inwards). This is your starting position.
Step 2: Inhale. Exhale. While maintaining a slight bend in your elbows, pull the ends of the band outwards and upwards until your arms are in line with your shoulders. You should feel a small squeeze between your shoulder blades.
Step 3: Inhale. Gently lower the ends of the band to return to the starting position.
Bicep Curl
Step 1: Standing on the middle of a resistance tube, plant both feet on the floor shoulder-width apart. Hold one resistance tube handle in each hand with an underhand grip (palms facing away from you) with arms extended on either side of your body. This is your starting position.
Step 2: Inhale. Exhale. Bend your elbows to bring the resistance tube handles in towards your chest, ensuring that your elbows remain in close contact with the sides of your body.
Step 3: Inhale. Extend your elbows to return to the starting position.
Cool Down
Sweat and Kelsey highly recommend completing a cool down session after your workout. 3-5 minutes of walking will help to slowly lower your heart rate to normal levels and help your body to cool down after a workout.
You might also like to complete some static stretching as part of your cool down, where you hold a single position for twenty seconds or longer. Static stretching works to lengthen your muscles with the aim of increasing your flexibility and range of motion.
It can also help provide relief from any potential cramping and can help reduce soreness and risk of injury.
This 15 minute workout is similar to what you will find in Kelsey’s PWR at Home program on the Sweat app.
Sign up to our daily newsletter here to get all the latest news and hacks. Or get in touch at lifestyle.tips@verizonmedia.com.

 Yahoo Lifestyle


