
 Yahoo Lifestyle
 The Easy 4-Ingredient Dessert I Make When I’m Craving Apple Pie
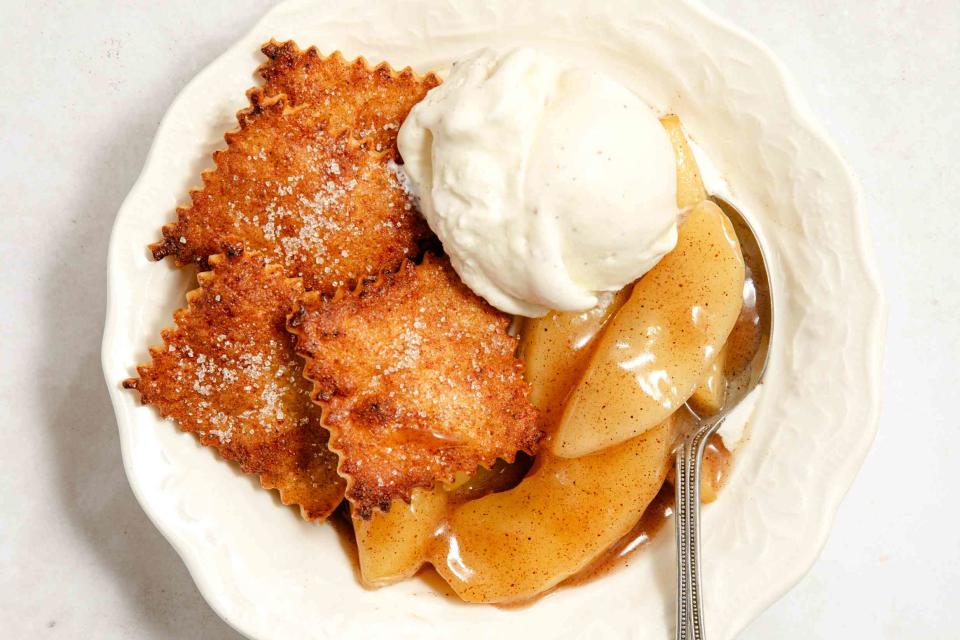
My mom’s shortcut apple pie is my fall desperation dessert.
Simply Recipes / Sara Haas
Dessert at my house growing up wasn’t often homemade—it came from a box, a carton, or from Dairy Queen. My brother and I didn’t care, though. We’d take dessert however we could get it.
Even though my mom didn’t bake per se, she did have a knack for getting creative. This shortcut apple pie is a great example. It’s a “deconstructed” pie that’s easy to make and comes together with a few simple ingredients.
My mom liked to shop the freezer section of the grocery store. A family favorite was Stouffer’s Glazed Apples. They were sweet, but not soft or mushy and they had a delightful cinnamon flavor that we all loved. She often served it as a side dish alongside pork chops or a ham steak. But sometimes she would turn it into dessert by serving it with cinnamon sugar-topped pie dough pieces and vanilla ice cream. To us, it was just as good as a slice of apple pie.
I serve this dessert to my family now, and they love it just as much as I do. I typically make it the way my mom did, but since Stouffer’s doesn’t sell their glazed apples anymore, I’ve had to pivot. If time is tight, I’ll buy canned pie filling as a replacement. If I know I have at least 10 minutes, I’ll grab 4 or 5 apples at the store and make my own stove-top version of pie filling. This gives me more control of sugar and seasonings, which I love.
I use refrigerated pie dough almost exclusively and usually go with Pillsbury because that’s what they sell at my grocery store. I also always use my little jar of blended cinnamon sugar to cover the tops because it’s easy and ready to go.
How To Make My Shortcut Apple Pie Dessert
To make four servings, you’ll need:
1 refrigerated pie crust
1 egg yolk
2 tablespoons prepared cinnamon sugar
1 (21-ounce) can apple pie filling
1 tablespoon fresh lemon juice (from 1 lemon), optional
Vanilla ice cream or whipped cream, for serving, optional
Preheat the oven to 425°F and line a large rimmed baking sheet with parchment paper.
Unroll the pie crust onto the parchment paper. Whisk the egg yolk and 1 teaspoon water in a small bowl and brush over the crust; dust the top with cinnamon sugar. Let air dry for 5 minutes, then cut into squares or other shapes. Spread out on the baking sheet and bake until golden brown and crisp, about 5 to 10 minutes.
Meanwhile, add the pie filling to a small sauce pot and set over low heat. Cover with a lid and cook, stirring occasionally, until warm, 5 to 10 minutes. Remove from heat and stir in lemon juice, if using.
Portion the warmed apples into serving bowls. Add the cinnamon-sugar pie pieces and top with whipped cream or vanilla ice cream.
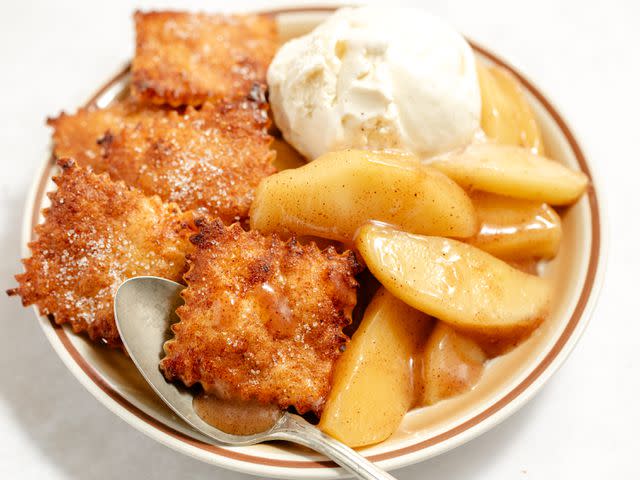
Simply Recipes / Sara Haas
Quick Tips
You can make the recipe as written with fantastic results. Here are some tips that I’ve incorporated along the way.
Stouffer’s doesn’t make their glazed apples anymore, so I’ve been using canned apple pie filling as a replacement. Target’s Favorite Day Apple Pie Filling is pretty decent, especially after adding some fresh lemon juice. I also like to buy jarred versions from the local farmers market.
I love apples, but any fruit will also work with this recipe. Cherry pie filling is delicious as is peach.
Skip the pie filling and toss about 1 1/2 pounds of sliced fresh fruit with a bit of sugar and cook it on the stove for a few minutes. Make a slurry of 1 tablespoon cornstarch and 2 tablespoons cold water, add it to the pan, and let it cook over high heat until it thickens.
The egg yolk helps the sugar adhere to the pie dough, but if you don’t have one, you could use heavy cream instead. If you don’t have either, then brush lightly with water.
I use a premade cinnamon-sugar mixture because it’s what my mom used, but you can easily make your own. Combine 2 teaspoons ground cinnamon with 1 tablespoon plus 1 teaspoon granulated sugar.
Read the original article on Simply Recipes.

