There are simpler ways than canning to preserve your garden harvest
If you’re lucky, you’ll find yourself with more homegrown food at the end of the season than you can consume before it spoils. Rather than waste your hard-earned bounty, it’s time to think about preserving your harvest — and carefully consider safety.
Many folks successfully cook fruits, vegetables and sauces and “can” or process them for shelf-stable storage, and my hat’s off to them. I play it safe (and easy) by freezing and drying herbs and produce rather than canning, which, if not done properly with specialized equipment and specific recipes, can result in food-borne illnesses.
One year, after an excruciatingly hot September day spent outdoors washing, cutting, cooking, straining and processing jars of tomato sauce with my family, they nearly kicked me out. Sure, it was all fun and games for the first hour or two, but as the day progressed, I nearly had a mutiny on my hands. To make matters worse, I used a very deep pot over too-high heat and burned the whole batch. I envy those who have mastered the process.
Easy ways to preserve tomatoes
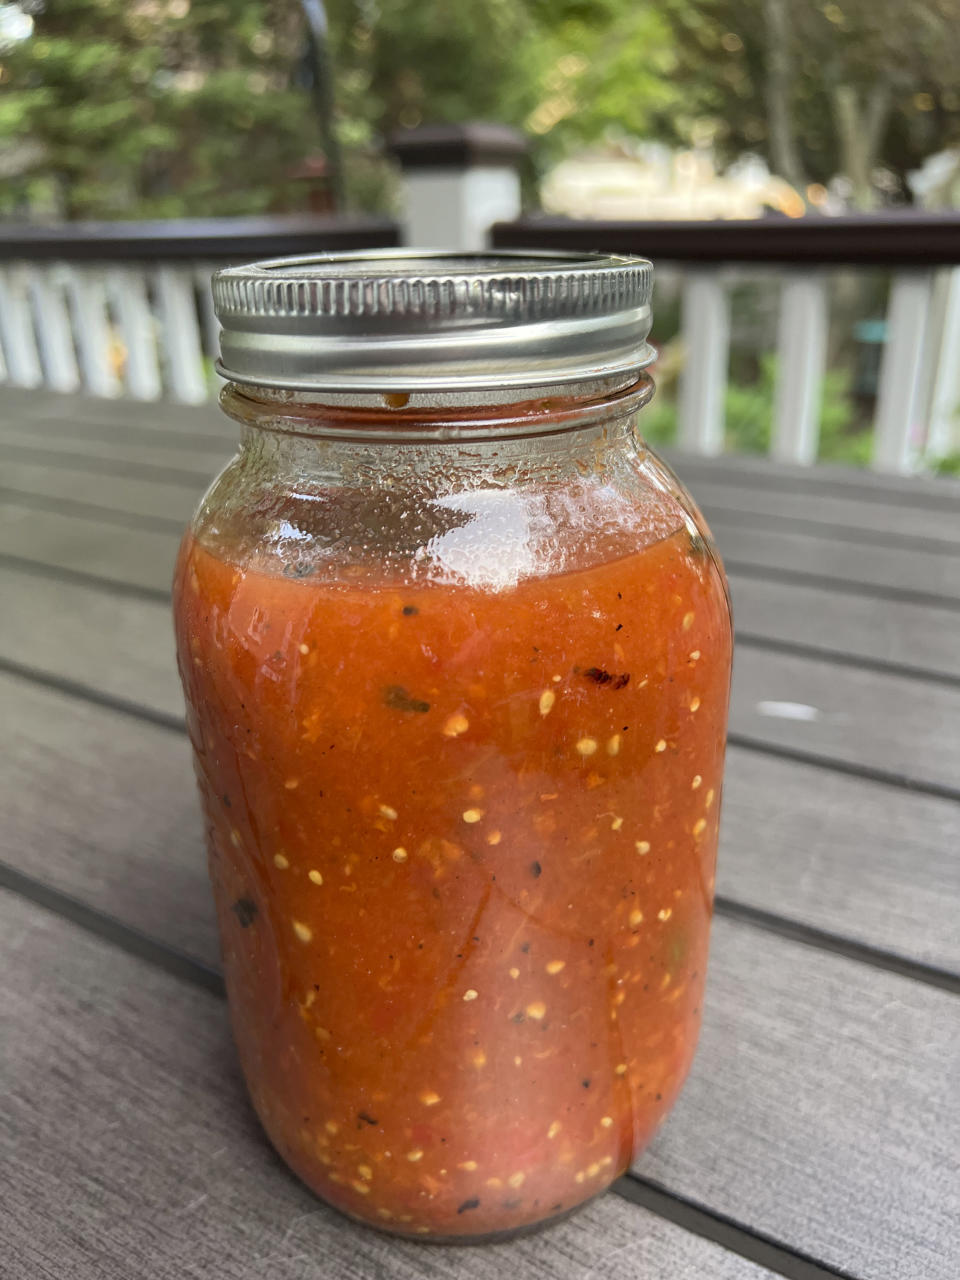
These days, I boil whole tomatoes for just a minute or two, remove them from the pot with a slotted spoon and allow them to cool for a few minutes before removing their skins with my fingers. After cutting them into wedges, I pulse them in a food processor, then cook them on the stovetop for 30 minutes and salt to taste. When the sauce has cooled, I pour it into airtight, zipper-top freezer bags, Mason jars or plastic containers, allowing an inch of headspace for expansion.
If I have plans to use the sauce for pasta, I’ll add fresh basil and garlic cloves to the container so that it’s ready to go when I am. If I’m uncertain of the sauce's fate, I’ll freeze it plain and season it as needed.
Another way I keep tomatoes is by freezing them whole, and it couldn’t be easier: I rinse each fruit, pat it dry and place as many as will fit into a gallon-size, zipper-top freezer bag. Freezing them whole not only preserves their flavor and texture but also makes it convenient to use them in soups, stews or other recipes. When I want to add tomatoes to a dish, I grab one from the bag, peel off its skin, which removes easily, then drop the tomato in the pot and break it up with a spoon as it defrosts.
Herbs are even easier
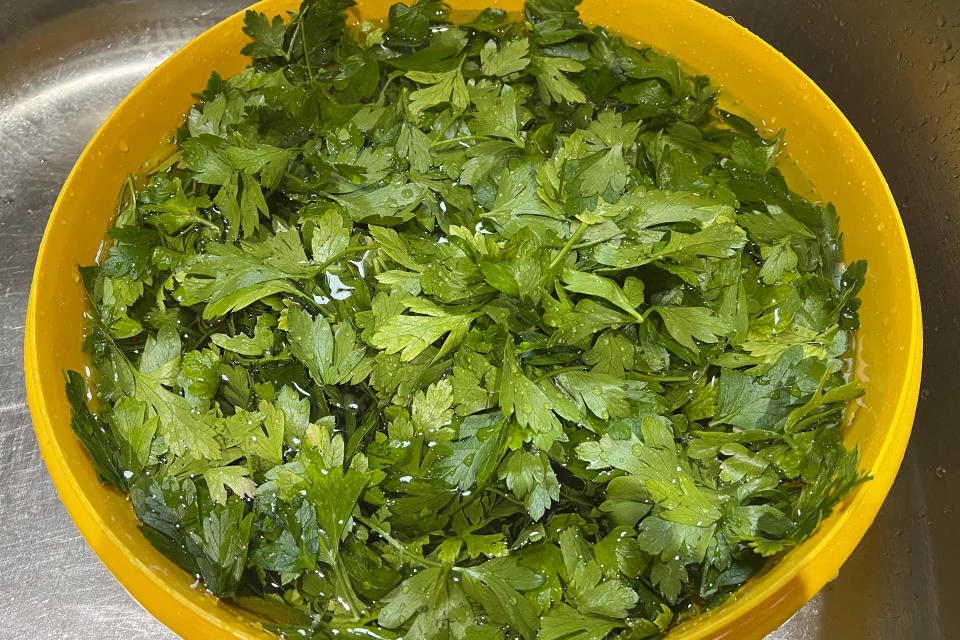
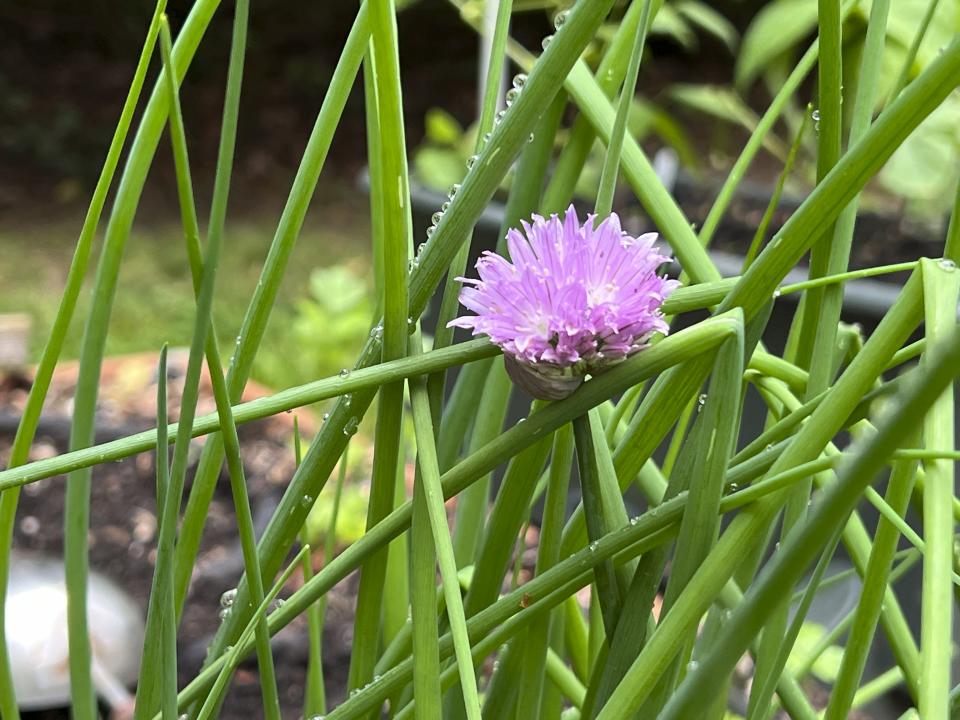
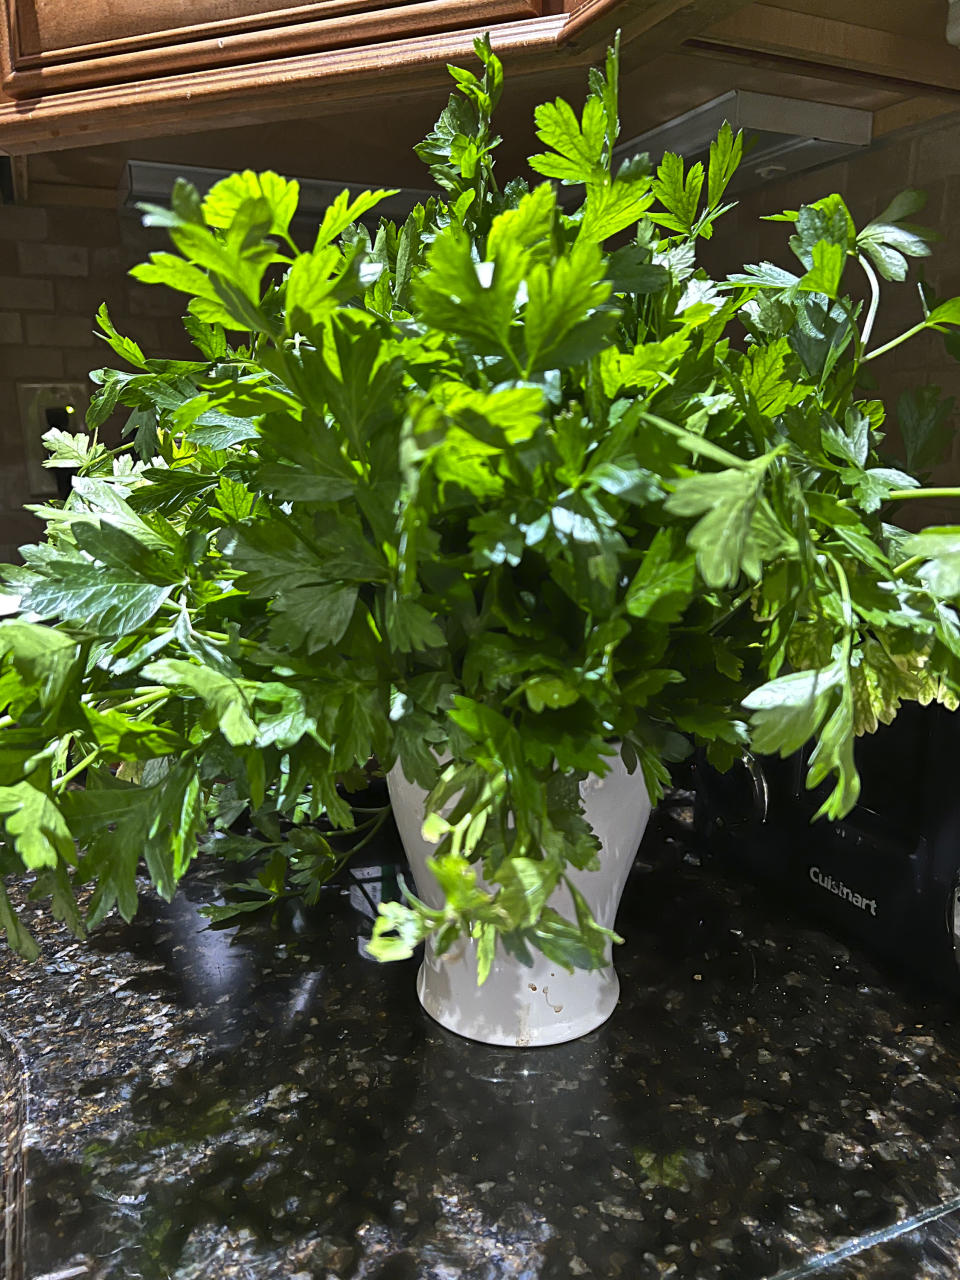
Although they can be dried, my preferred method for preserving chives and flat-leaved herbs, like basil, parsley and cilantro, is to freeze them, either as whole leaves or chopped in oil infusions (directions below).
For the best flavor, harvest herbs in the morning, after the sun has risen but before the dew has dried. This is the time of day when their essential oils are most concentrated.
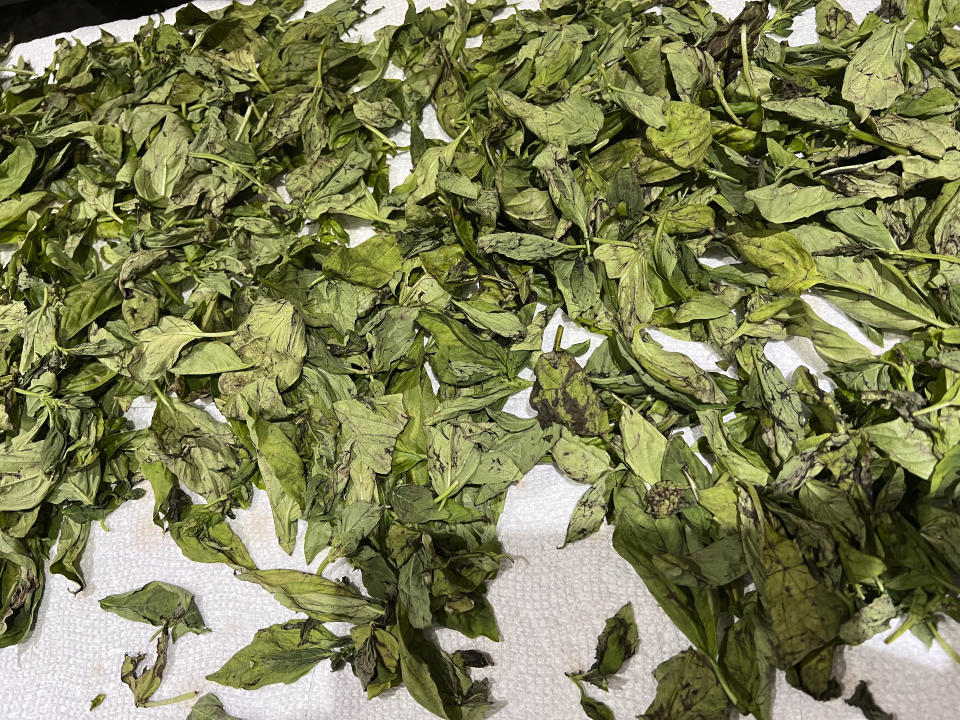
To freeze leaves for individual use, remove them from stems, rinse and pat dry, then spread on clean towels in a single layer until all the residual rinsing moisture has evaporated. Toss occasionally to ensure even drying. This may take a couple of days. Next, place leaves in a single layer on a cookie sheet and freeze overnight. Place frozen leaves in a zipper-top plastic bag and return to the freezer for future use. This method allows you to remove individual leaves as needed; skipping the evaporation step would result in a frozen block that would be difficult to break.
Other ways to preserve herbs
To make oil infusions, remove leaves from stems, then rinse and pat dry with a clean towel or paper towel. Cut leaves into quarter-inch pieces using herb snippers (or clean, sharp scissors). Fill the compartments of a 1- or 2-ounce silicone freezer tray, such as the ones made by Souper Cubes, halfway with herb clippings, and fill the remainder of each compartment with the oil of your choice. Freeze overnight, then carefully pop individual cubes from the tray and store them in a zipper-top bag in the freezer.
Herbs can also be dried to keep them at room temperature. This is my preferred method for those with small, textured or needled leaves, such as thyme, sage, oregano and rosemary.
Rinse, remove from stems and set out in a single layer on clean towels to dry. Because the goal here is to dehydrate the leaves rather than allow only excess moisture to evaporate from around and between them, the process will take considerably longer. Toss leaves daily. When they become crunchy, add them to clean jars or other sealable containers and store them as you would dry herbs from the store.
No-work pickles
And if you want to get really easy, try my no-effort refrigerator pickles. Most refrigerator pickles, which are shortcuts in their own right, require boiling a brine made from vinegar, spices, sugar and salt, and pouring it over sliced cucumbers in a jar, then refrigerating.
I skip all that and simply add my own sliced cucumbers to the brine that’s already in an empty jar of pickles. They’re delicious after 24 hours in the fridge and even better after 48 hours. You can get two batches out of that pickle juice. Why let it go to waste?
___
Jessica Damiano writes weekly gardening columns for the AP and publishes the award-winning Weekly Dirt Newsletter. You can sign up here for weekly gardening tips and advice.
___
For more AP gardening stories, go to https://apnews.com/hub/gardening.

 Yahoo Lifestyle