
 Yahoo Lifestyle
 An Oiled Bowl Is Key For Letting Your Cinnamon Roll Dough Rise

There's no greater baking brunch flex than serving up homemade cinnamon rolls. Superior to store-bought in every way, this pastry item is fairly easy to assemble at home and requires little more effort than a bit of forethought. Still, there are some key steps you have to accomplish in order to make a successful cinnamon roll dough. One of these important steps is proofing.
Most cinnamon roll dough is an enriched dough, which means it has plenty of butter, sugar, eggs, and other fats. While this makes for a super fluffy and tender mixture, it also means it can be sluggish during the proofing stage — when the yeast creates carbon dioxide bubbles and the dough begins to rise. For the most part, this just requires a bit of patience on behalf of the baker, but there are some ways to help your bread dough prove to the best of its abilities.
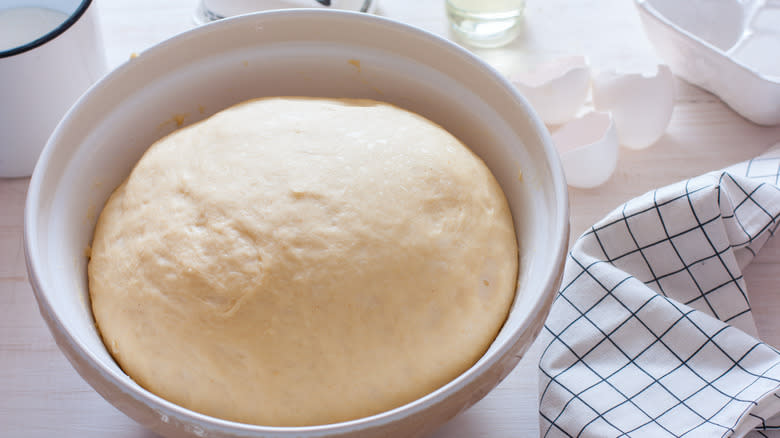
One way to accomplish that is by placing it in a well-greased bowl. Why? With a bit of lubrication, the dough no longer needs to fight to climb the walls as it rises and you'll be able to remove the dough easily, without knocking out that precious leavened air.
Read more: 15 British Baked Sweet Treats You'll Want To Try
Incorporating This Hack Into Your Next Batch Of Cinnamon-Filled Pastries
This tip is simple enough to accomplish, but there are numerous ways to go about it. First, you can grease your proofing bowl with olive oil spray. Easy to maneuver and evenly distribute, this works well if you want to apply a thin coat. This only works if you have a neutral oil spray, though, as any butter-flavored sprays will make the dough taste off.
If you want to apply a proper coat with regular bottled oil, you can brush a tablespoon of it onto the bottom of the bowl and walls with a pastry brush. Or you can take the most slapdash approach and pour the oil directly into the bowl and roll it around until it has coated the surface. The only caution with this method is that you run the risk of pouring in too much, which will saturate your dough and give it a greasy texture, so have a light hand when pouring.
The most important part of the tip? Make sure to turn the dough over after placing it in your oiled bowl, so that the top of it gets properly lubricated as well. As the dough rises, some of the top dough edges will expand and touch the bowl, which will keep it from sticking when you eventually need to pour the dough onto your work surface.
Read the original article on Tasting Table.

